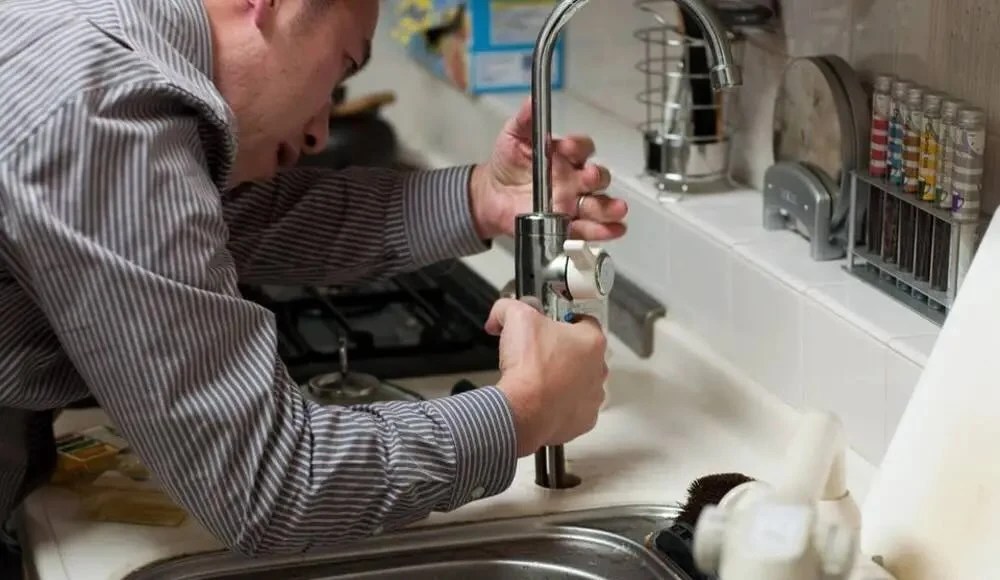
How to Master Maintenance of Your Mounted Faucets and Taps?

Mounted faucets & taps, whether gracing your kitchen sink or enhancing your bathroom vanity, are more than just functional fixtures. They're silent workhorses, delivering water for daily tasks, adding a touch of elegance to your space, and, let's face it, sometimes driving us crazy with that persistent drip. Maintaining these essential components is crucial for longevity, preventing water waste and costly repairs.
This comprehensive guide will equip you with the knowledge and practical tips to keep your mounted faucets and taps pristine, ensuring smooth operation and a drip-free existence.
Discover the top appliances for your commercial kitchen on our website. Visit us to learn more about our offerings.
Understanding the Anatomy of a Mounted Faucet/Tap:
Before diving into maintenance, it's essential to understand the basic components of a typical mounted faucet/tap. While designs differ, the core components remain constant:
-
Spout: The visible part through which water flows.
-
Handle(s): Employed to manage water flow and temperature.
-
Aerator: A mesh screen at the spout's tip mixes air with water, creating a smoother flow.
-
Cartridge (or Compression Valve): The internal mechanism that controls water flow. Cartridges are standard in single-handle faucets, while compression valves are found in two-handle faucets.
-
O-rings and Washers: Rubber or silicone seals that prevent leaks at various connection points.
-
Supply Lines: Flexible pipes connecting the faucet to the water supply.
-
Escutcheon Plate: A decorative plate covering the faucet's base, concealing plumbing connections.
Common Problems and Their Causes:
Awareness of the root cause of problems is the primary step towards effective maintenance. Here are some prevalent issues:
-
Dripping Faucet: Often caused by worn-out washers, O-rings, or a damaged cartridge or valve.
-
Low Water Pressure: This can result from a clogged aerator, blocked supply lines, or issues with the water supply itself.
-
Leaks at the Base: Typically due to deteriorated O-rings or loose connections.
-
Stiff Handles: Indicates mineral buildup or a damaged cartridge/valve.
-
Noisy Spout: This can be caused by air in the water lines, loose components, or high water pressure.
-
Corrosion/Mineral Deposits: Occur due to hard water or exposure to harsh cleaning agents. For more information, contact your mounted faucet & tap supplier.
Preventive Maintenance: The Key to Longevity:
Proactive upkeep is far more efficient than reactive restorations. Here's a routine to follow:
-
Regular Cleaning:
-
Use a soft fabric and detergent to clear the spigot's external parts. Do not use harsh agents, as they can ruin the finish.
-
For mineral deposits, use a mixture of equal amounts of white vinegar and water. Drench a fabric in the mix and wrap it around the concerned area for 15-30 minutes, then wipe clean.
-
Clean the aerator regularly by unscrewing it, rinsing it with the fluid, or soaking it in vinegar.
-
Check for Leaks:
-
Periodically inspect the spout and surrounding area for signs of leaks. Pay attention to the base, connections, and supply lines.
-
Tighten any loose connections using a wrench, but try not to overtighten, as this step can ruin the pipes.
-
Inspect and Replace Worn Parts:
-
Check washers and O-rings for signs of wear or damage. Replace them as needed.
-
If your spigot has a cartridge, replace it if it's causing drips or stiff handles.
-
If you have compression valves, inspect the valve seats. Damaged seats can also cause drips.
-
Maintain Water Pressure:
-
Check whether your kitchen's measured pressure is within the prescribed range provided by your mounted faucets & tap dealers.
-
Take out any residue that may be obstructing the flow by cleaning the aerator.
-
Flush the supply lines periodically to remove sediment.
-
Protect the Finish:
-
Do not use harsh agents or cleaners on the spout's finish.
-
Dry the valve after each use to remove water spots and mineral accumulation.
-
Think about using a sealant or protective wax created for plumbing fixtures.
Addressing Specific Issues: Step-by-Step Guides:
Here's how to tackle some common spigot problems:
1. Fixing a Dripping Faucet:
-
For Single-Handle Cartridge Taps: Switch off the water supply to the tap.
-
Take out the handle cap and open the handle tack.
-
Carefully remove the handle and the retaining nut.
-
Take out the old cartridge and substitute it with a new one of the same kind.
-
Reassemble the spout in reverse order.
Control the fluid temperature precisely by blending hot and cold water, making it easier to achieve the perfect temperature for washing dishes. Browse our sink mixer taps.
-
For Dual Handle Compression Faucets: Switch off the water supply to the tap.
-
Remove the handle caps and unscrew the handle screws.
-
Remove the handles.
-
Unscrew the bonnet nuts.
-
Take out the old washers and substitute them with new ones.
-
Remove and replace the valve seat with a valve seat wrench if the valve seat is ruined.
-
Reassemble the spigot.
2. Cleaning a Clogged Aerator:
-
Unscrew the aerator from the spout of the product supplied by top mounting faucet & tap manufacturers & distributors.
-
Disassemble the aerator components.
-
Rinse the components with the liquid to remove any debris.
-
Soak the parts in a vinegar mix for half an hour to remove mineral deposits.
-
Rinse the components again and reassemble the aerator.
-
Screw the aerator back onto the spout.
3. Fixing a Leak at the Base:
-
Switch off the generated supply to the spout.
-
Disassemble the spigot to access the O-rings.
-
Check the O-rings for damage and change them as required.
-
Reassemble the spout.
-
Look for leaks after turning the water connection back on.
4. Loosening Stiff Handles:
-
Turn off the liquid supply to the spigot.
-
Remove the tap parts to access the cartridge or valve.
-
If the cartridge is stiff, replace it.
-
Clean the valve and lubricate it with the plumber's grease if it is stiff.
-
Reassemble the faucet.
5. Dealing with Noisy Spouts:
-
Assess the fluid pressure and alter it if needed.
-
Flush the supply lines to remove air or sediment.
-
Tighten any loose connections.
-
Think about setting up a water hammer arrestor in your mounted faucets & taps for sale to limit noise caused by sudden changes in the liquid pressure.
Choosing the Right Tools and Materials:
Having the right tools and materials on hand will make spigot maintenance easier:
-
Adjustable wrench
-
Screwdrivers (Phillips and flathead)
-
Plumber's tape (Teflon tape)
-
Plumber's grease
-
Replacement washers, O-rings, and cartridges
-
Valve seat wrench (for compression spouts)
-
White vinegar
-
Soft cloths
When to Call a Professional:
While many spigot maintenance tasks can be handled DIY, some situations require professional assistance:
-
Complex plumbing repairs
-
Leaks behind walls or under floors
-
Persistent leaks that you cannot resolve
-
If you are uncomfortable working with plumbing
Extending the Life of Your Faucets and Taps:
By following these maintenance tips, you can significantly extend the lifespan of your mounted spouts and taps, saving money on repairs and replacements. Consistent care and timely attention to issues are crucial for optimal performance.
Reduce labour time by quickly and effectively removing food residues from dishes before they enter the dishwasher. Check out our Pre-Rinse Units with Risers now.
Conclusion
Mounted faucets and taps are integral to any home, providing functionality and style. By following these maintenance tips, you can ensure they remain in top condition for years to come. Remember, a little care goes a long way in preventing issues and maintaining the elegance and utility of your mounted spigots. By embracing these maintenance practices, you'll ensure that your mounted faucets and taps remain reliable and aesthetically pleasing for years, providing you with a smooth, effortless, and drip-free experience.